
Take A Picture! It Will Last Longer.

Our tech tips have covered a number of subjects from computer maintenance to great inventions throughout history. This month, we’re covering something a little more in the middle of the pack. Have you ever seen (or ever been) the person at a school concert or sporting event taking picture after picture because you don’t want to miss a moment of your child’s life and then realizing you missed the event itself? I used to be like that person when my daughter was very little, but came around to the realization that less is more. Taking thoughtful photos will do more to evoke the cherished memories of the past than photo-blitzing your daughter’s high school basketball team to the point you cause them flash-induced blindness.
You can also use these tips to take better photos for your online resume or social media profiles. A good picture can grab a recruiter’s attention before any words on the page might jump out them.
Remember – you don’t have to be Andy Warhol to know what looks good, nor do you have to be Ansel Adams to take good, and a few possibly great photographs. Pay attention to what you are shooting, take a look at the tips below, and I guarantee you and others will appreciate your photo memories far more than in the past.
(1) Eye contact with your subject – hold your camera at the person’s eye level. For kids, this means possibly kneeling or sitting to take their picture. Also remember that having your subject look at something else besides the camera can invoke a bit of wonder in your photo.
(2) Use a plain background – Noisy backgrounds can mesh with the foreground (your subject) and make it look as if they have things growing out of their heads. Frame your shot by looking through the viewfinder of your camera or smartphone and examining what you have in the background.
(3) Use your flash outdoors – Harsh midday sunlight creates deep shadows. You can use fill-flash mode if the person is within 5 feet of you or if you are taking a picture on a cloudy day. Use full-flash mode if the person is beyond five feet. Note some cameras may not have fill-flash mode depending on the brand and type.
(4)  Get close – Fill your picture frame with your subject and grab the details that make a good picture great – the freckles, a single hair out of place, the line of a laugh wrinkle. Note most cameras need to be no closer than 3 feet to the subject, as that is the limit of their focusing capabilities (being closer will make your picture blurry).
(5) Shoot off-center – Create interest by shooting your subject off center of the frame. You’ll have to lock the focus on your subject once you get it, as most cameras focus on whatever is in the center of your frame.
(6) Lock the focus – Various methods exist for doing this with a camera, but with most DSLR cameras, you can press the shutter button halfway down to focus your subject, keep holding the button down while you reframe your shot to put the subject off-center, and then pressing the shutter down all the way to take the shot. Smart phones may not have this capability however.
(7) Shoot within your flash’s range – If you go beyond this range, your photos will be too dark. Most flashes don’t have a range beyond approximately 5 meters. You can usually find the information in your camera/flash manual.
(8)  Light, light, light – Watch it. If you don’t like how it looks on your subject, move yourself or them, or take the picture at a different time or place. You can add your own lighting, but that’s a fairly advanced subject that many of us would rather avoid.
(9) You’re in charge – You get to be the director when taking planned photos. It’s your moment to be Ansel Adams and get the best composition you can with your available subject(s), background(s), and lighting. Reposition, direct, take a few different photos, and come up with something great!
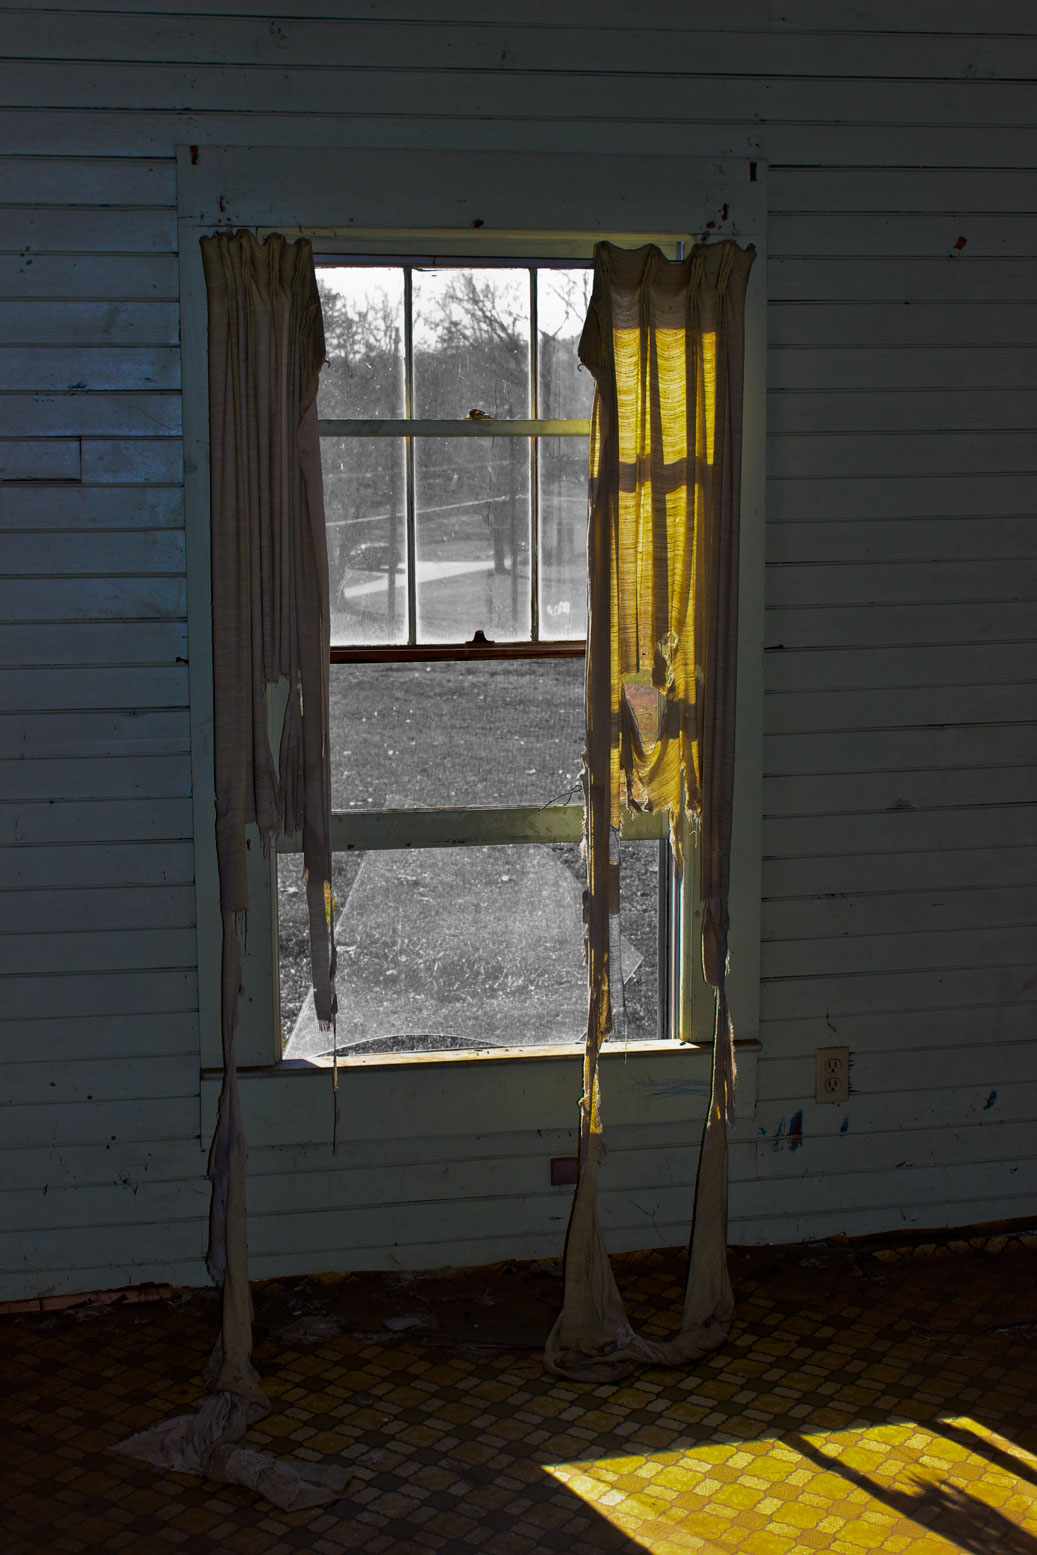
 I’ve included a few photos I recently took on a trip to North Carolina. While they don’t all adhere to all the principals I’ve outlined above, you’ll note how I’ve used some of the techniques in the photos that make them more interesting than randomly snapping some pictures.
That’s it for this month! See you in March for our next edition of Tech Tips.
Comments are closed.